About this blog

I am Amy, but here on the web I go by A.J. Dub. And hey, I like to craft!
Sometimes things turn out well so I will share with you how I did it.
Sometimes they don't turn out well and I will share that with you too! This blog is not currently active. Links may not be current.
Showing posts with label Tutorials. Show all posts

Tuesday, June 10, 2014

Power Cord Wrap tutorial


Power Cord Wrap tutorial


Supplies for 3 cord wraps:
  • 1- 24” package of ½”-3/4” sew-in Hook & Loop fastener (Velcro) (I found mine at Wal-Mart for $0.84.)
  • 9”  grosgrain ribbon, twill tape or fabric (should be hemmed) of equal width to the Hook & Loop fastener
  • Coordinating Thread
  • Sewing Machine with sturdy needle
  • Ruler
  • Scissors (able to cut the Hook & Loop fastener)
  • Matches or lighter (to seal the ends of the ribbon)


Cut the soft side of the Hook & Loop fastener into 3- 7-8” strips (or to the desired length)
Cut the Rough side of the Hook & Loop fastener into 3- 1.5” strips (there will be a long piece left over that we will not use.)
Cut the ribbon into 3- 3” strips. With a match or lighter, heat-seal the ends to prevent fraying.

Fold the ribbon in half to make a 1.5” piece.  Stitch at 1/8 inch around the perimeter, backstitching at start and finish. Repeat with the other 2 ribbons.

Take one piece of soft side Hook & Loop fastener and with the back facing you, line up the ribbon with the raw edges (heat sealed ends)1/4” overlapping the top of the Hook & Loop fastener, and the fold extending past the end of the Hook & Loop fastener, by 1.25”. Baste or glue stick in place if desired.
Put the rough side of the Hook & Loop fastener on the back of the soft side over the ribbon, with the ends of the Hook & Loop fastener lined up.
Stitch at 1/8 inch around the perimeter, backstitching at start and finish of rough side of Hook & Loop fastener. Trim threads.


*If something doesn't make sense, please let me know. I intend to add a few more process photos soon. I need to get some more Hook & Loop first.


Friday, May 23, 2014

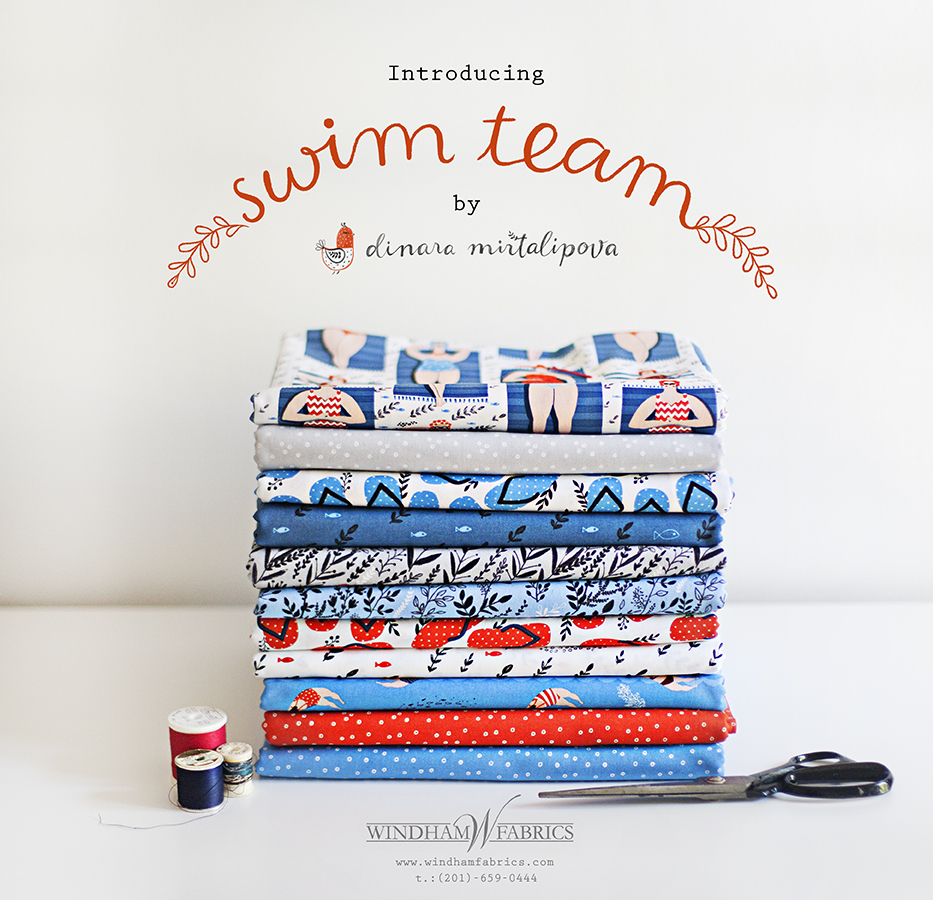
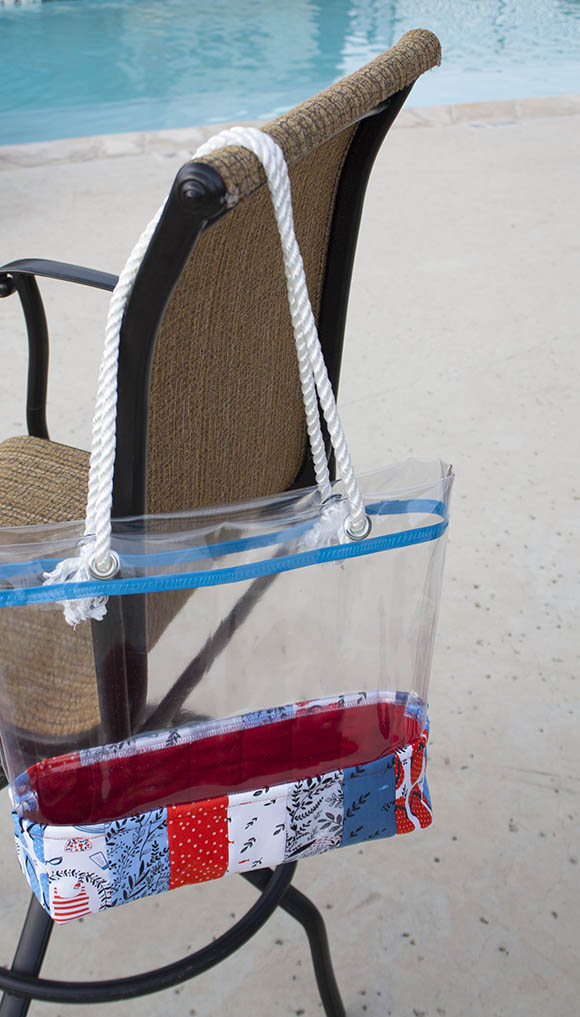
Cute Bag Tute and Giveaway at Schlosser Designs!

*GIVEAWAY CLOSED*  Bag tutorial still up!

I just wanted to share this fabric giveaway


http://www.schlosserdesigns.com/2014/05/swim-team-tote-giveaway/
http://www.schlosserdesigns.com


and really really fun bag tutorial

http://www.schlosserdesigns.com/2014/05/swim-team-tote-giveaway/

posted today at Schlosser Designs! Hurry over and don't miss out!


Monday, April 7, 2014

Easter Baskets

Last year I made a really cute and easy Easter Basket for my littlest miss. Since Easter is nearly upon us I am sharing the link to the tutorial again.


You can find it at Sew Lux Fabric and Gifts Blog HERE.


I am making these baskets for my bigger kids this year. They do not have handles, which may make it slightly awkward for the egg hunt, and are on the small side, but I think they will be really nice for them to use these all year on their nightstands or dressers to keep their stuff in. The tutorial is found at The Sometimes Crafter HERE.


Thursday, February 13, 2014

Stitching away!

I have had some actual real sewing time over the last week or so and it has been so nice!
I have had a couple of burp cloths that I needed to finish up. My mother in law was kind enough to stitch up some embroidered terry and a cloth diaper for me using  Piece N Quilt's embroidery patterns and then I used the tutorial to make some cloths with them.


They are cute, but as a mom, I think they might be on the small side.  They end up about 9 1/2 inches square. I plan on asking the recipient in a few weeks how they work for her.

I also made a bag for my teen daughter's toiletries.


Our cupboard was getting a little out of hand and after looking at baskets and bins and bags at various stores, I came back home and remembered something I had pinned a while back. I went and checked out the pattern and it looked like it would be just right for the space and things that needed to be organized. It uses Jeni of In Color Order's drawstring bag tutorial and then an add on to add the pockets by Terri at Sew Fantastic.

I love that it stands up on it's own, thanks to a piece of cardboard between layers. It will make it so I can't wash it, and next time I will use some plastic, but it's good for now.

I have also been making progress on my pillow.


I got the applique stitched down and picked up a large hoop today to do the embroidery. I checked out 2 books from the library to help me learn more about applique and embroidery.


I tried almost all the stitches in the embroidery book, Doodle Stitching: Fresh & Fun Embroidery for Beginners.


I am still struggling with French Knots. I think I need a video, because following the written instructions either gets me a little tiny stitch or a kind of sort of French Knot. They don't quite look right. And I need those to make my little gnomey's eyes, so I really have to get them down.

I enjoyed it more than I thought I would. I get kind of twitchy usually when I do small fiddly type things. But I did okay. I can't quite call it relaxing yet, but maybe someday.  This book was just about right for my skill set and most of the instructions were easy to understand. There was one diagram that they left the letters off, by accident I'm sure. The letters were identifying where your needle was going in and out from "A" to "B" to "C" and back to "A" and so forth, so missing letters made it kind of tricky to figure out. But overall I liked the book.

When I finish the pillow I want to try some of the applique techniques in the Stash Happy: 25 Fresh Projects for Fabric Lovers book. I also want to track down the other books in this series. They all look great.


Friday, March 1, 2013

Toddler Tea Towel Apron Tutorial


 Toddler Tea Towel Apron Tutorial. Say that 5 times fast! :) Here are basic instructions on how to make the toddler apron with a tea towel.

**It should be noted that my first apron shrank in the wash. It lost probably 2 inches in length and width, so take that into account for 100% cotton towels when doing your measuring.

Supplies:
1 tea/hand towel at least 20"x15" or long and wide enough to cover your toddler.
36 inches of 3/8 inch grosgrain ribbon for ties
14 inches of  5/8 inch grosgrain ribbon for neck strap
1 1/2 inches hook and loop sew-on tape

Tools:
Rotary cutter
Clear rotary ruler
Rotary cutting mat
Coordinating thread
Sewing machine
Iron
Ironing board
Straight pins
Safety pins

Begin by taking your toddler's measurements or you use an appropriately sized apron to use as a template.

Measure from where you want the apron to hit their chest, down to where you want it to cover to.


Measure how wide you want the top.


Measure from the top down to the side as far down/around you want it.


If you do not have an apron or toddler handy, my measurements were:
Length: 16 inches
Top: 6 inches
Sides: 5 inches

Press your towel to remove wrinkles.


Lay the towel out on your cutting mat with the bottom (short side) at the zero inch mark.


Measure where you will cut the towel to the desired length by adding 1 inch to the length you measured on your toddler (mine would be 16" +1" = 17 inches).


Cut the top off and discard.


Fold the towel in half lengthwise (my towel is now 15 x 17 so I would fold to make it 7.5" x 17")


Along the top of the towel, measure where you will cut the towel sides by adding 1 inch to your top measurements then divide that number by 2. Measure in from the fold that amount and make a mark.
(My numbers would be 6" +1"=7", divided by 2 = 3.5")


With your ruler, measure from the mark on the top, angled down to the side, at your side measurement +1 inch. (My side measurement was 5" so I measure 6" from the mark)
 Make a mark,


then keeping the ruler on both marks, cut the angled piece off.


Your towel should now be apron shaped.


Fold your apron top down 1/2 inch and press. (Use starch if your fabric is stretching too much.)


Fold one side down 1/2 inch and press. Repeat with the other side.


All the raw edges should now have a 1/2 inch hem.


Now fold one side down another 1/2 inch and press then repeat with the other side.


Then fold the top down, 1/2 inch and press.


Pin to secure for stitching.


Starting at the edge of one side, on the back of the apron, back-stitching at the start, stitch all the way around the outside edges, back-stitching at the end as well.


Turn the apron and edge stitch using 1/8 inch seam allowance all the way around closing the open edge.


 Using the 5/8" ribbon, seal one end of the ribbon using a match or lighter to keep from fraying.


Safety pin to one side of the apron top at the corner. (You could also just go ahead and stitch it down to one side, just fold 1" under for a secure fit and only add 1 inch to the cut size. See *following instructions for placement.)


Try the apron on your toddler to get a good fit. Mark with a pen or a pin, adding a 2" extra to fold down.(Mine is 11" + 2" = 13" cut of ribbon.)


 Fold one end of the ribbon 1" down and *with the end of the ribbon facing the apron, with the fold pointed towards the bottom hem, pin to the apron top back at the corner and stitch around in a square, back-stitching at start and finish.


For the other end of the neck ribbon, heat seal the ribbon as before, then fold down 1 inch and stitch to secure.


Cut the Hook and Loop tape to desired size and pin the hook side to the folded end of the ribbon.


 Line up the ribbon with the corner of the apron, making sure the Hook and Loop tape is facing the correct direction.
If it's correct, stitch down the Hook and Loop tape, going all the way around the edges, back-stitching at start and finish.


If desired, you can stitch an X through it, for extra strength.


On the back of the apron, pin the Loop side of the tape to the corner opposite the secured ribbon, then stitch it down going all the way around the edges, back-stitching at start and finish.


Again, if desired, you can stitch an X through it as well, for extra strength.


Cut your 3/8" ribbon in half to make 2- 18" pieces. Heat seal all the ends.


Fold the end under on one ribbon and pin it to the back of the side corner.


Stitch going all the way around the edges, back-stitching at start and finish.


Repeat with the second ribbon on the opposite side.


Your apron is complete!